 Start & Finish
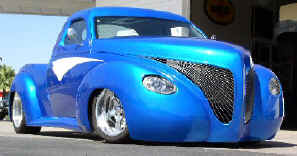
'39 Studebaker Build
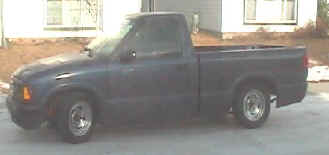
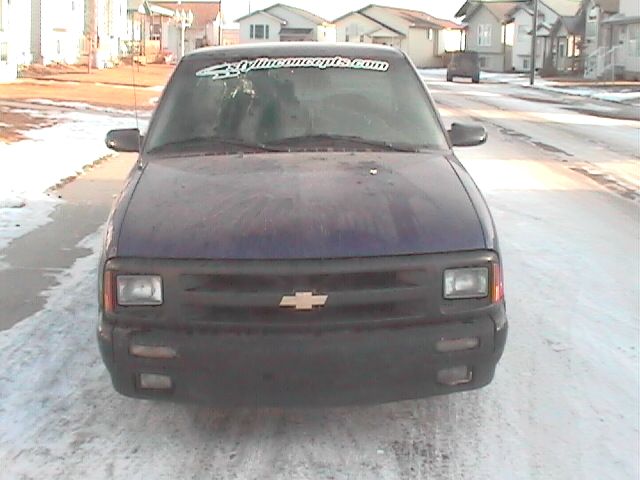
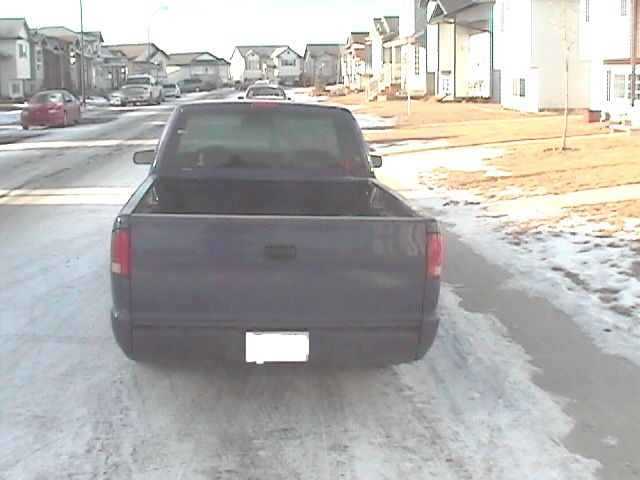
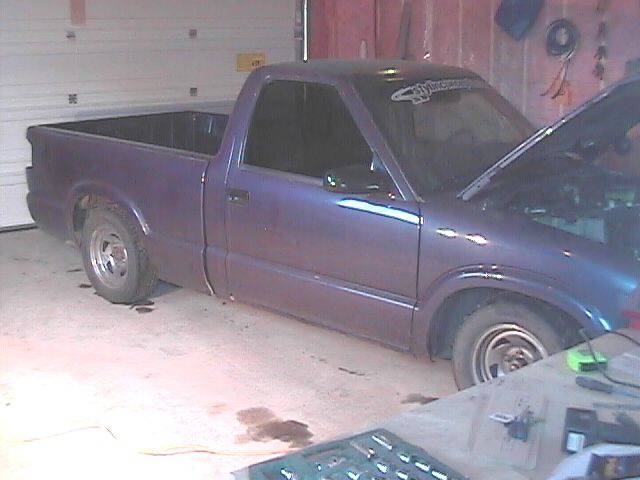
On this page you will be able to follow along with the build of a '39 Studebaker kit. We will show the steps that need doing, and a lot of extras that you can add if you wish. This project starts out as a 1995 S-10. Click the following pictures to enlarge them in another window. Hopefully this will be a nice addition to the build manual in helping the home builder.
Start & Finish
First step is off with the body.
![]()
----------
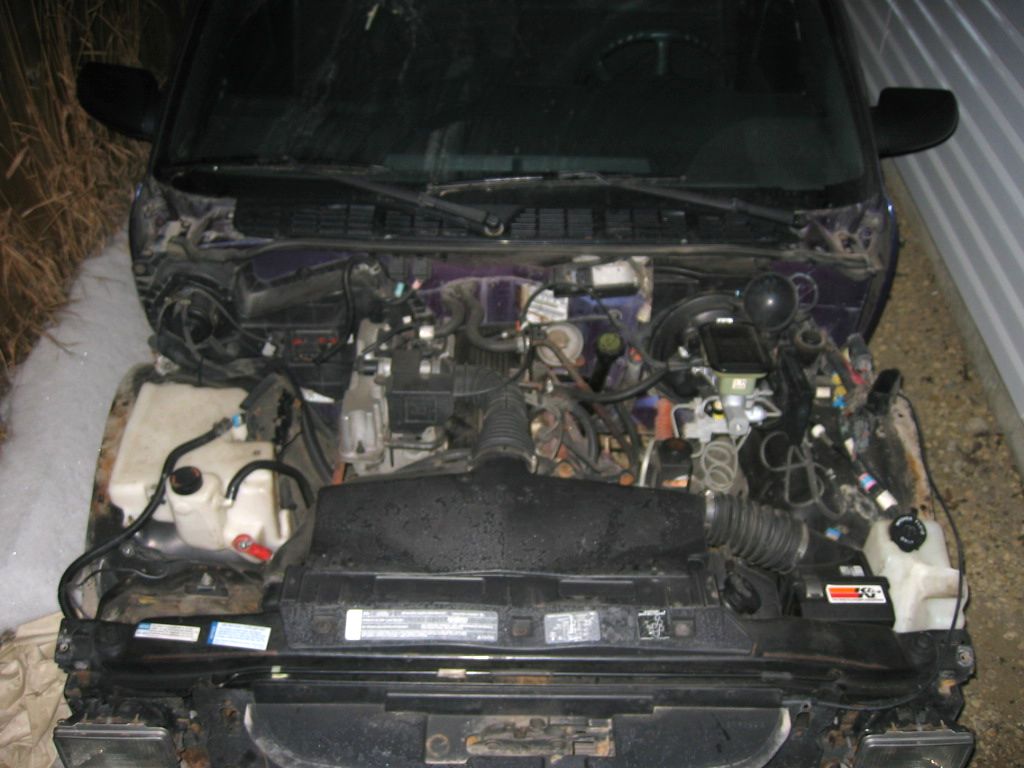

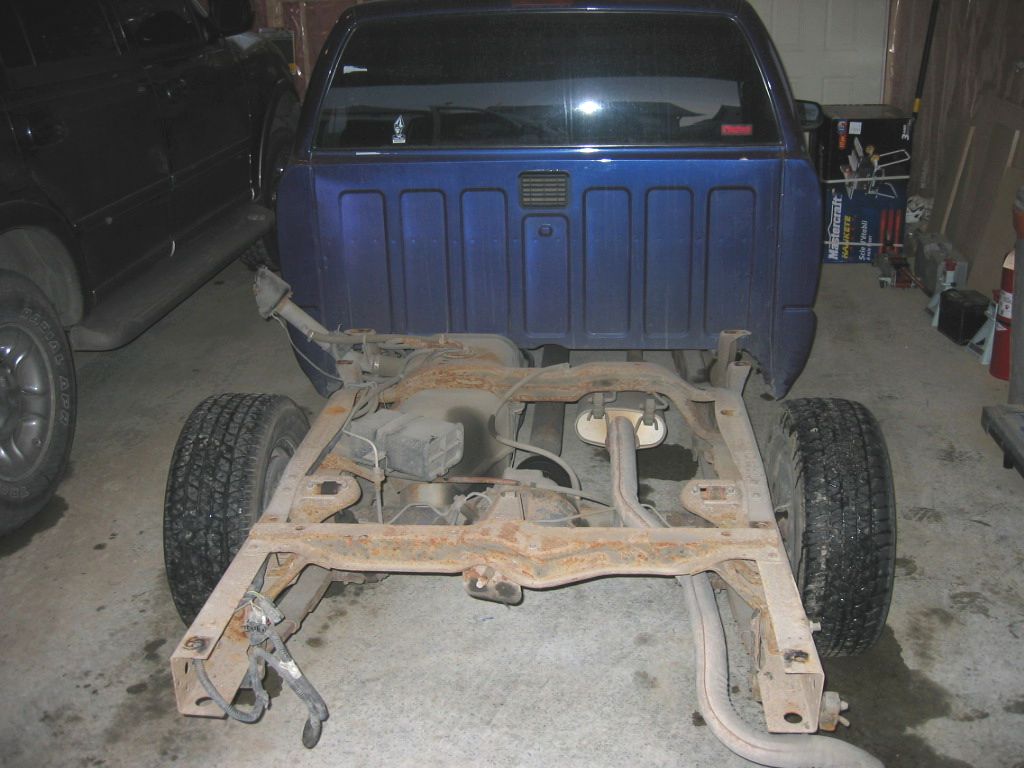
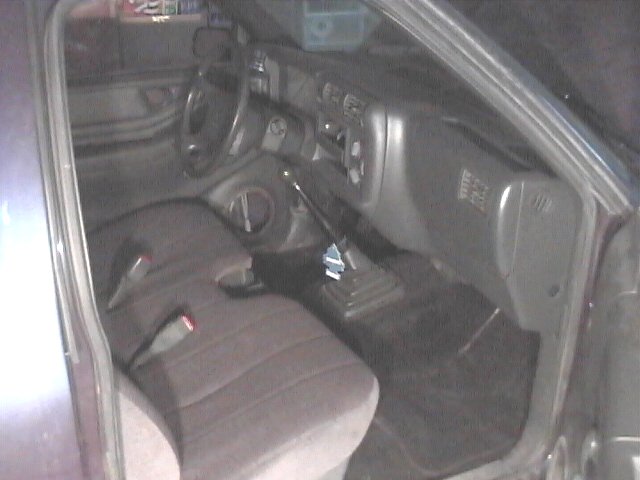
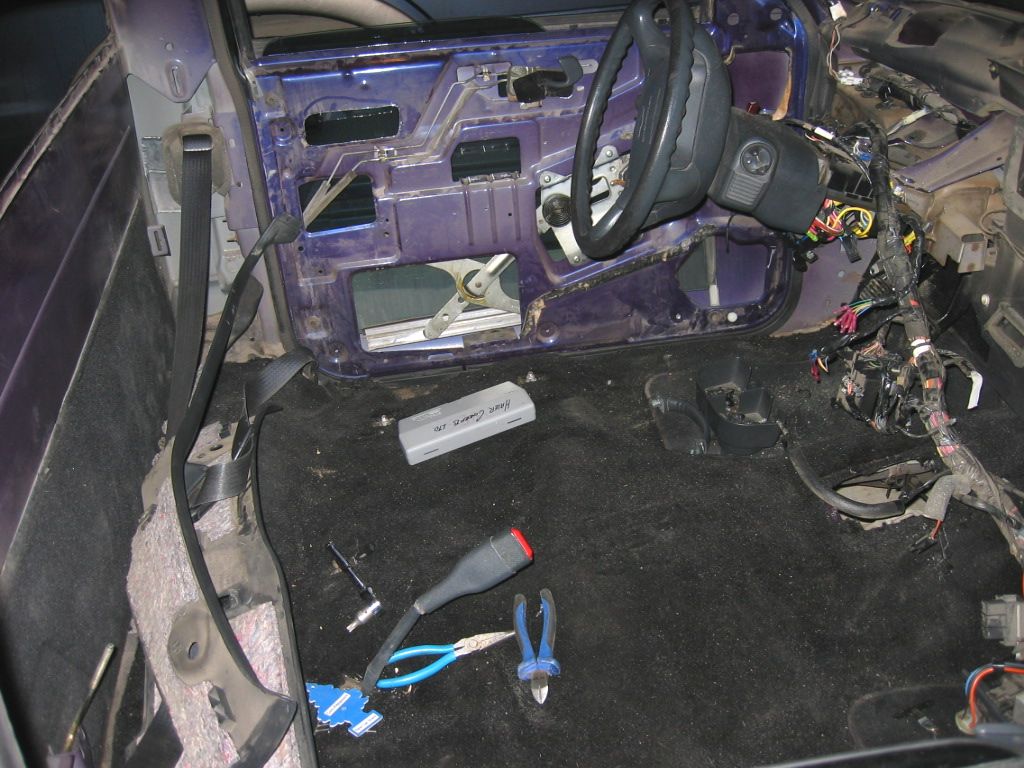
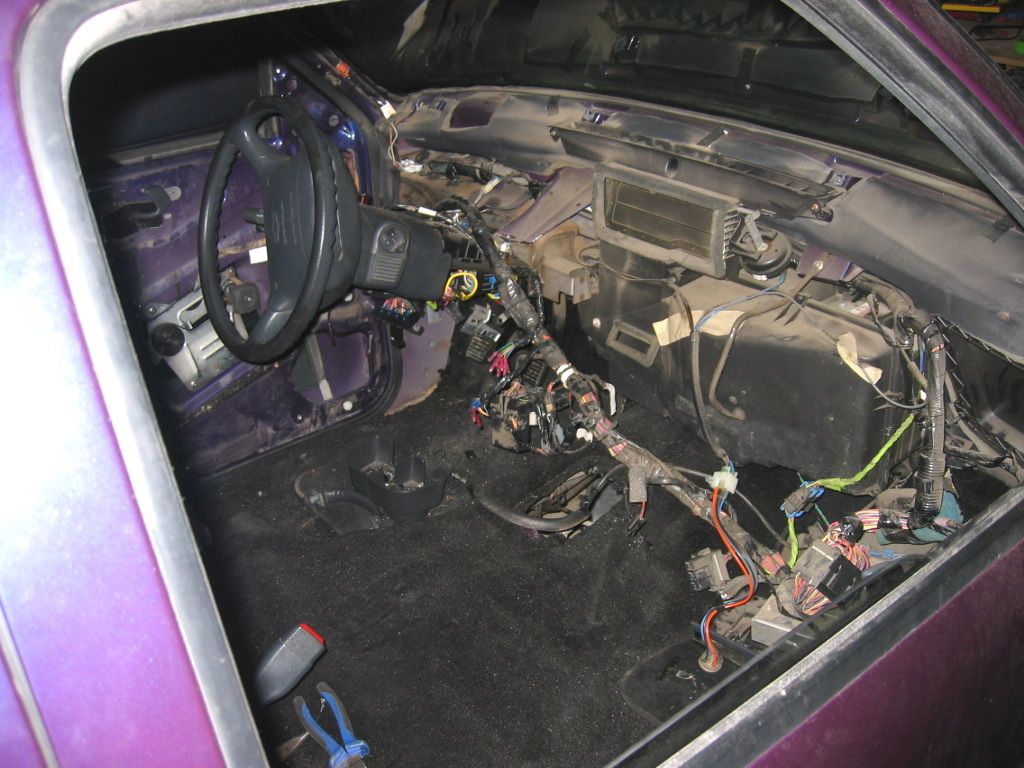
Out with the interior, off with the radiator and pull the drive line.
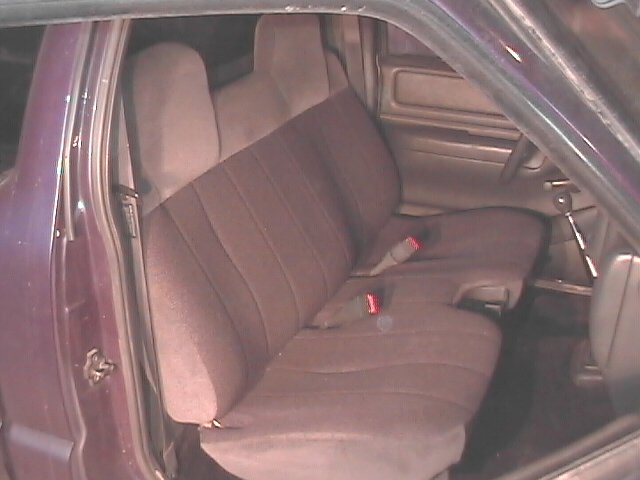
------------
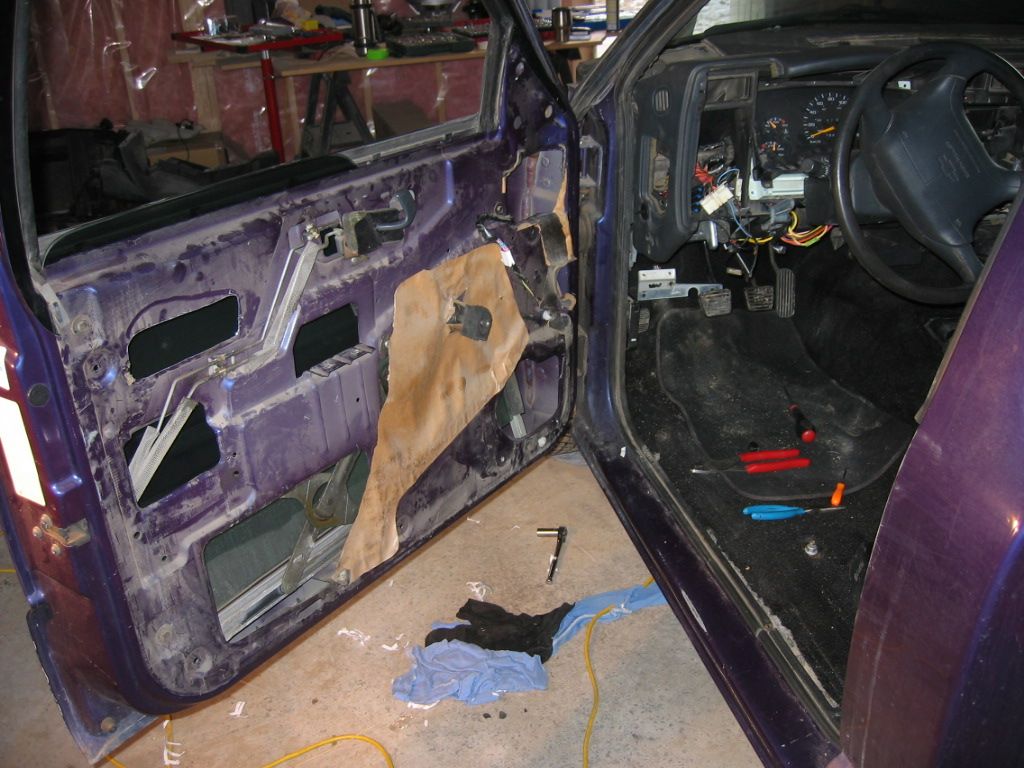
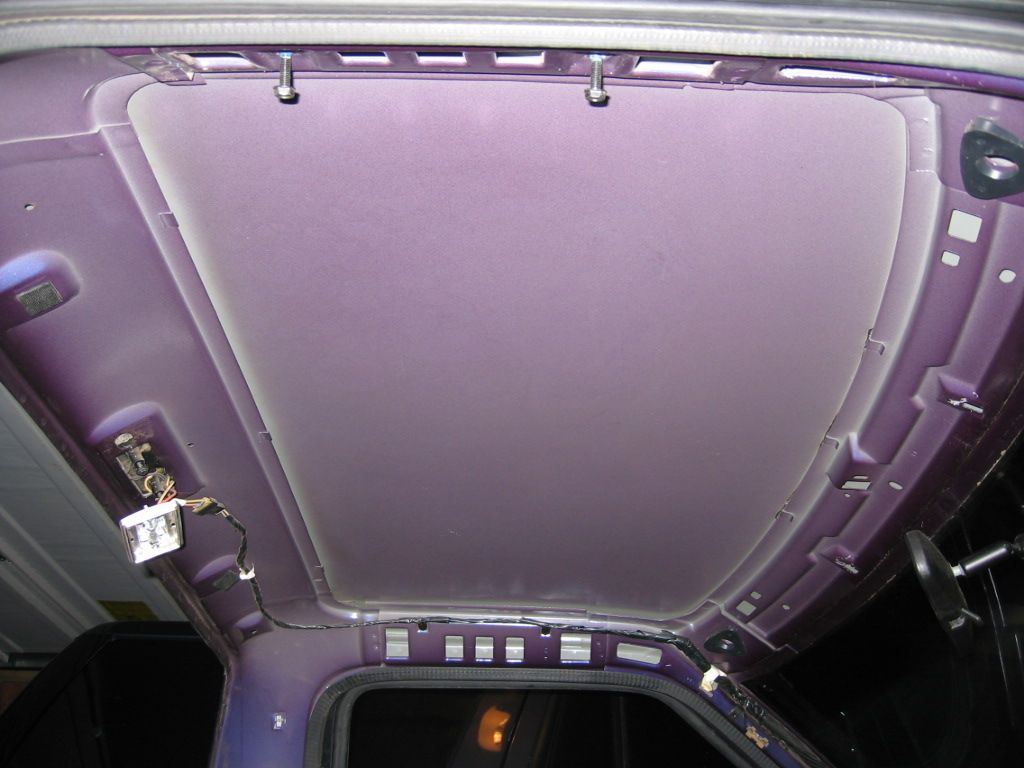
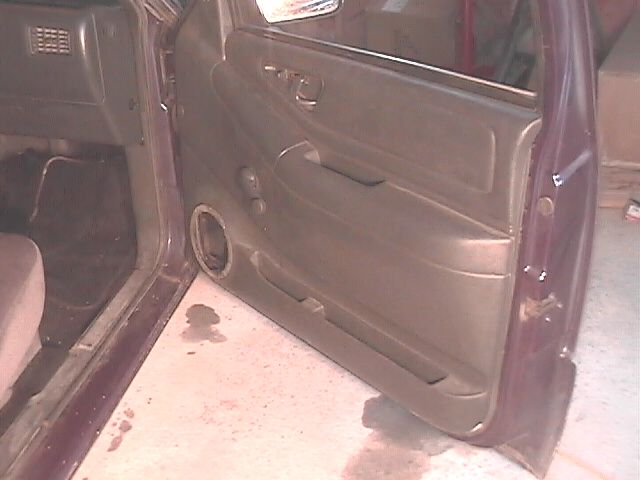
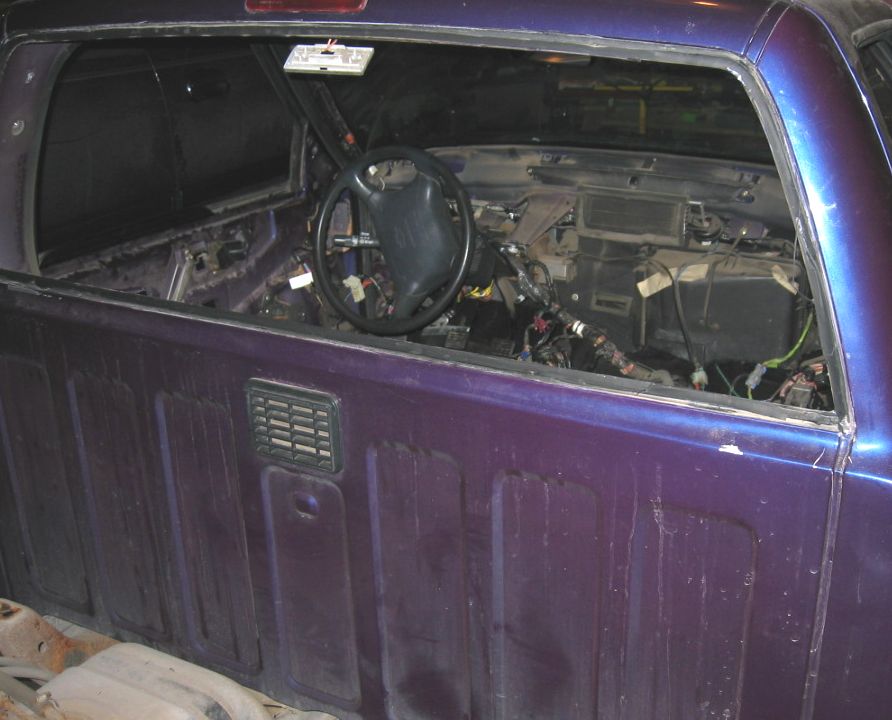
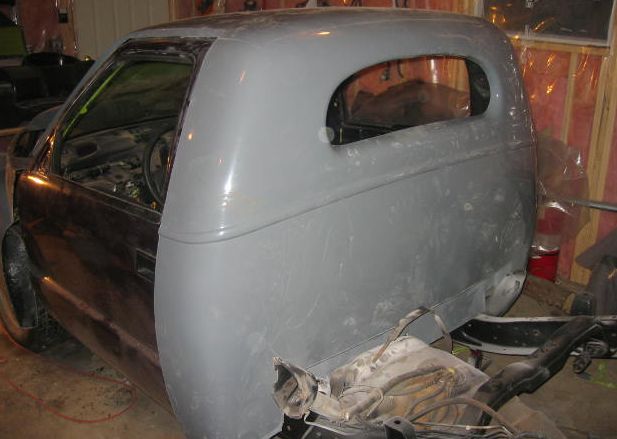
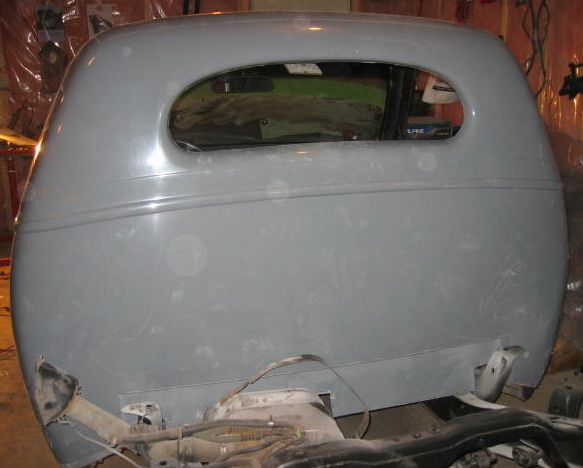
Clean up loose ends - finish stripping the interior and remove rear window.
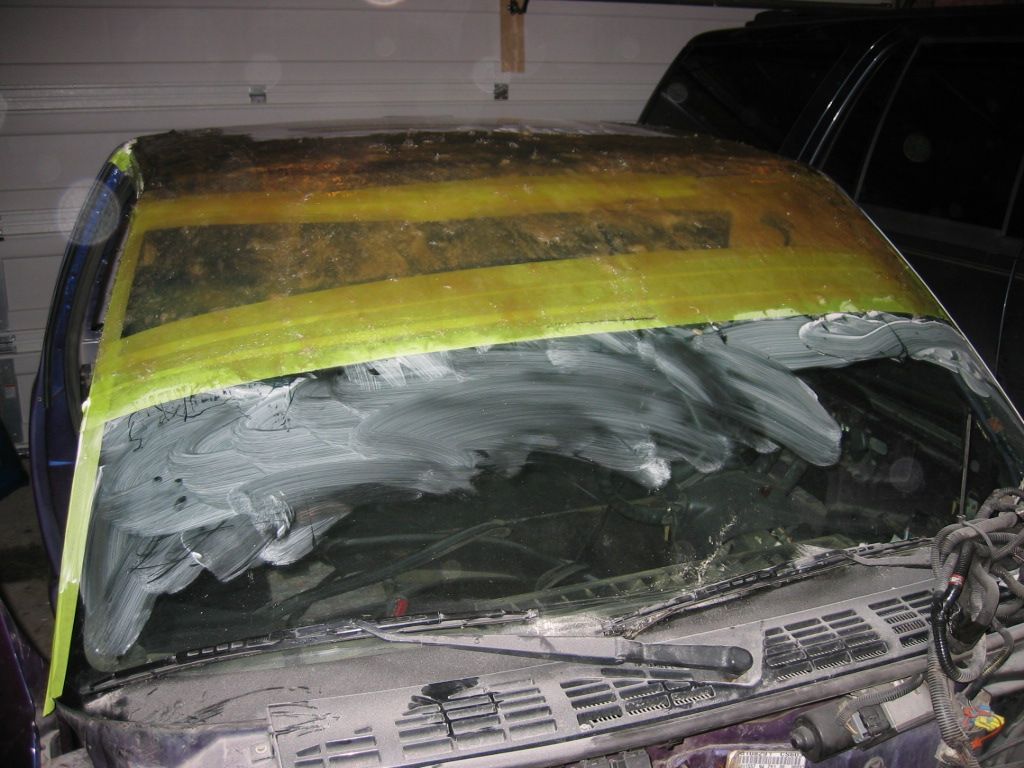
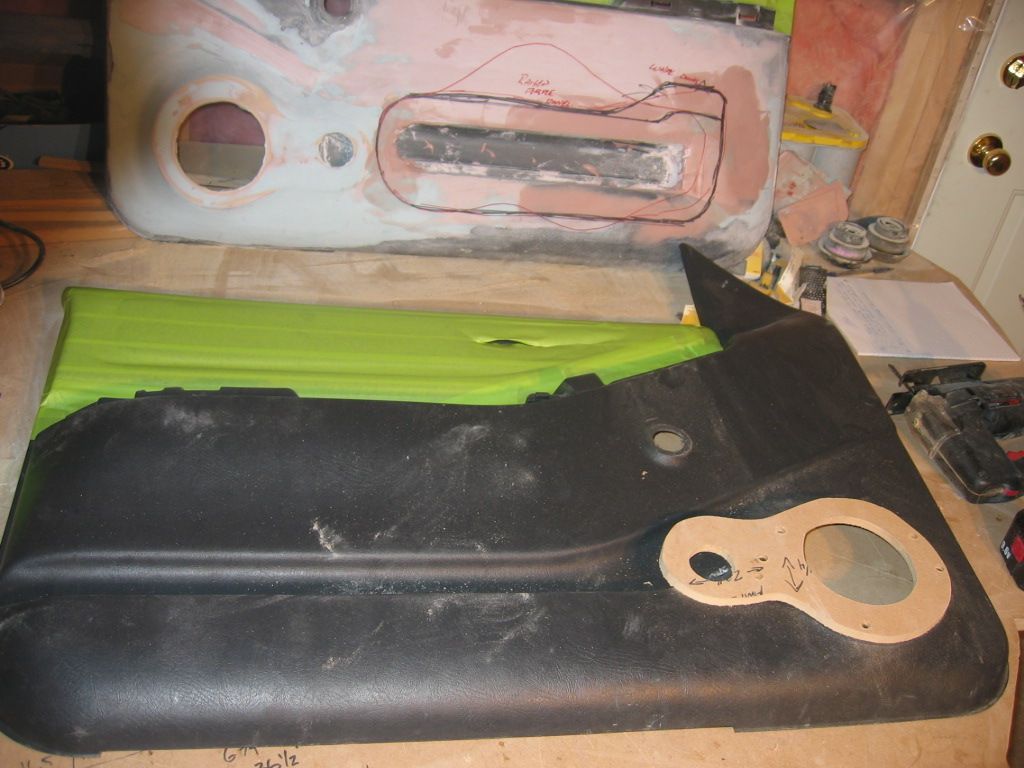
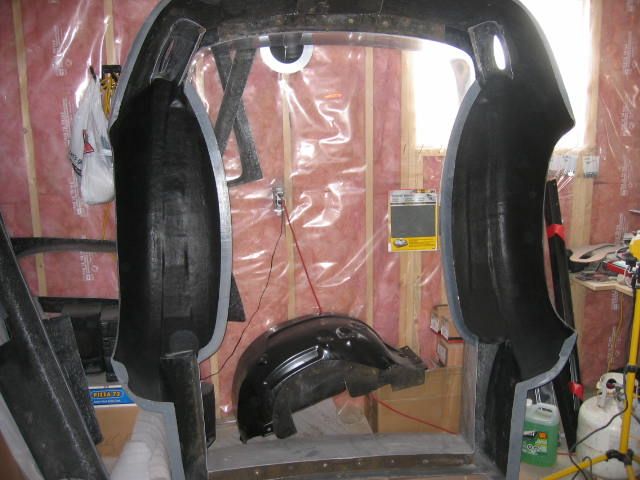
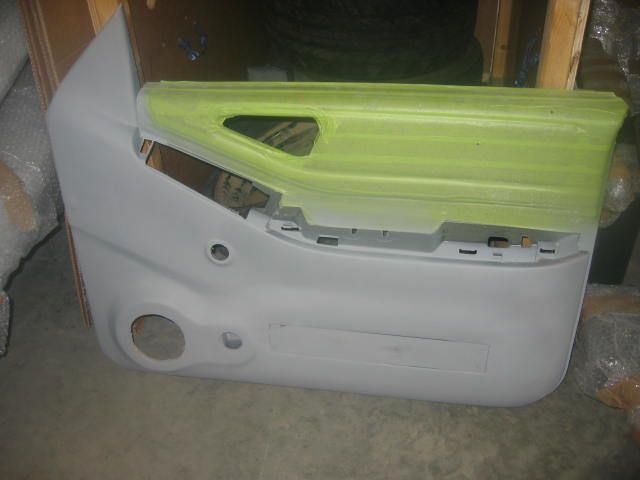
Wax then Fiber glass the cab - 3 to 4 layers of glass fiber on the edges of the door frames, 6 to 8 inches up the roof line and another 6 to 8 inches down the windshield. This will provide a base to secure the new cab to. Also starting the interior custom door panels.

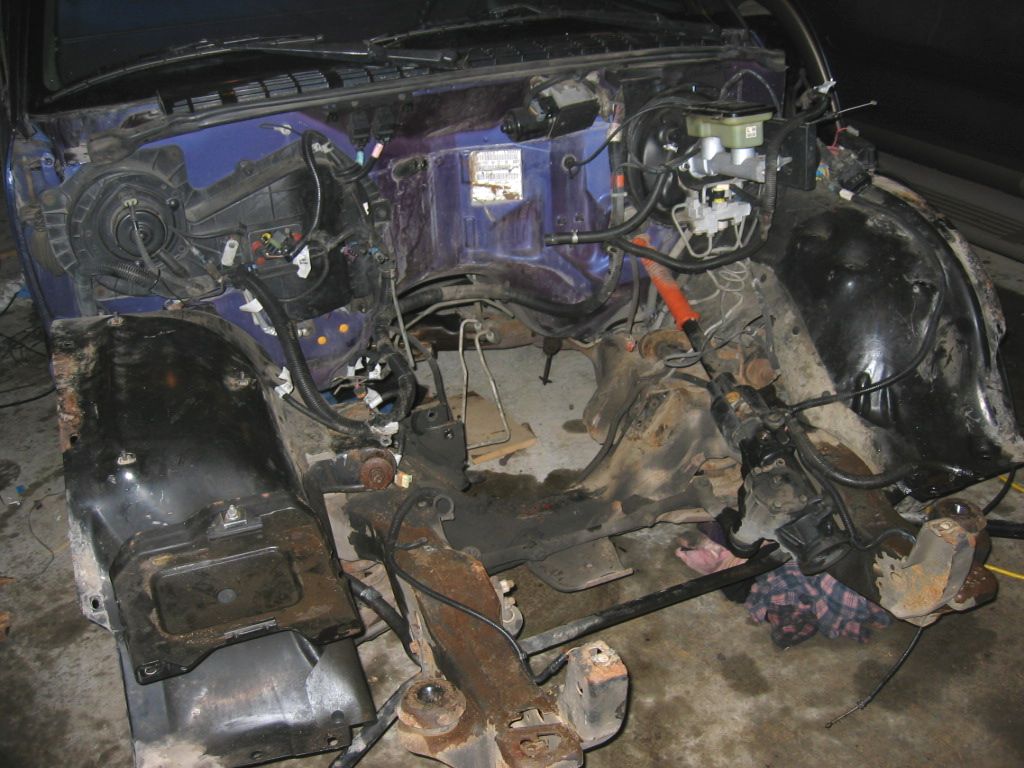
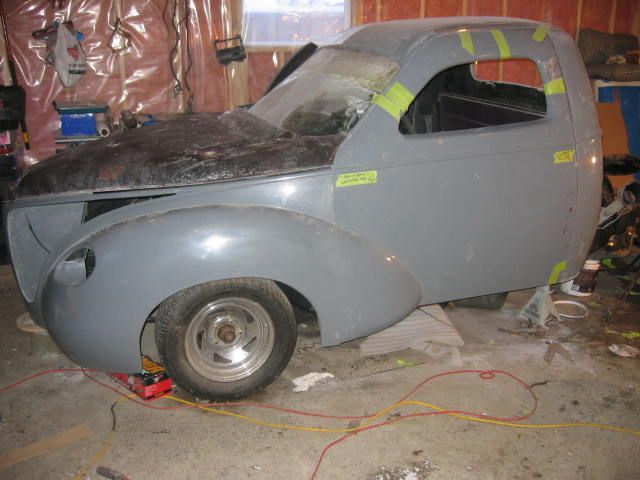
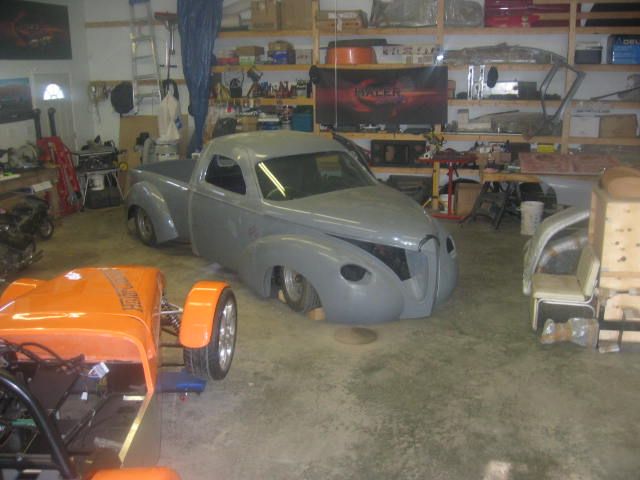
Now we are laying out the body and starting to test fit. You'll notice we went a little overboard with how low we went on the windshield with the fiberglass when you see the cab in place... nothing a grinder won't fix once we pull it off the donor to clean it up. First picture shows how the chassis is looking now after a good cleaning, sanding, and undercoating.
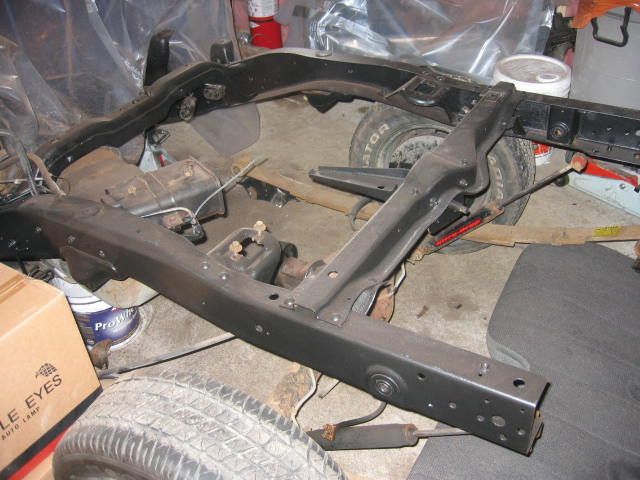


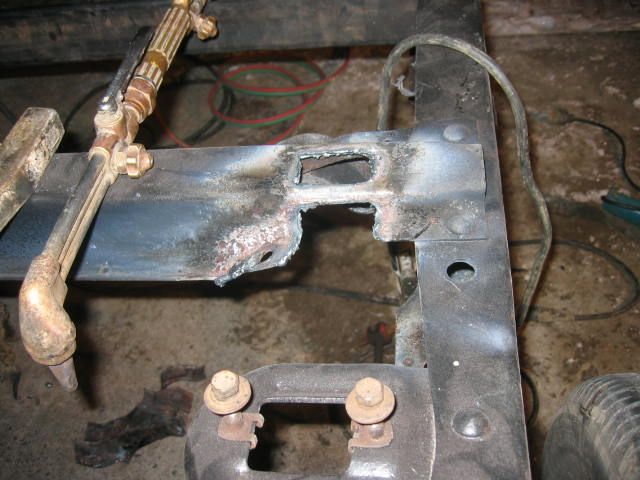
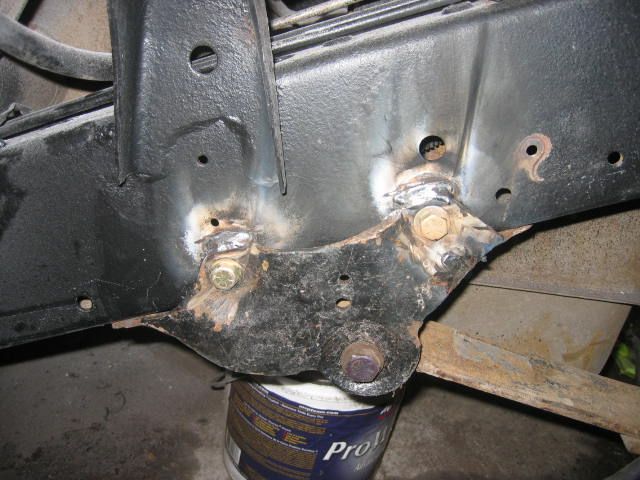
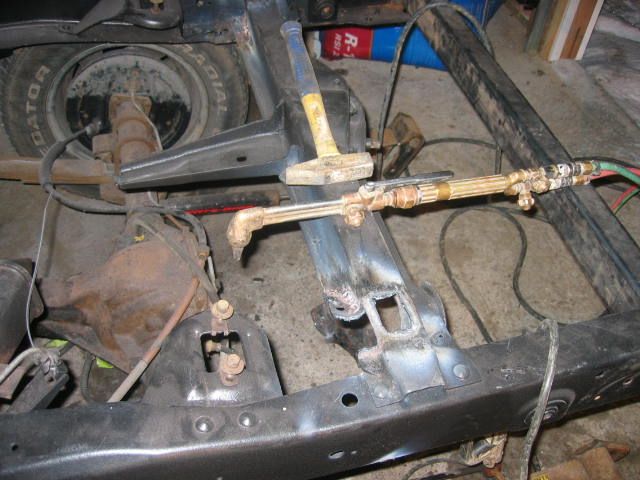
Next steps needed a torch and a mig welder, we relocated the front shackle mounts 9.6 inches back from original and re-bolted them to the frame then for a little extra ran a weld bead on each one. For the rear mounts we had to trim the frame and bolt in the new frame/shackle mount supplied with this kit. Finally we trimmed out the spare tire cross member to except the shocks. Now the frame will be cleaned and re undercoated (note to the home builder - undercoat after you weld)! With everything bolted back up we can see that it all fits well. We can now re apply the under coating.


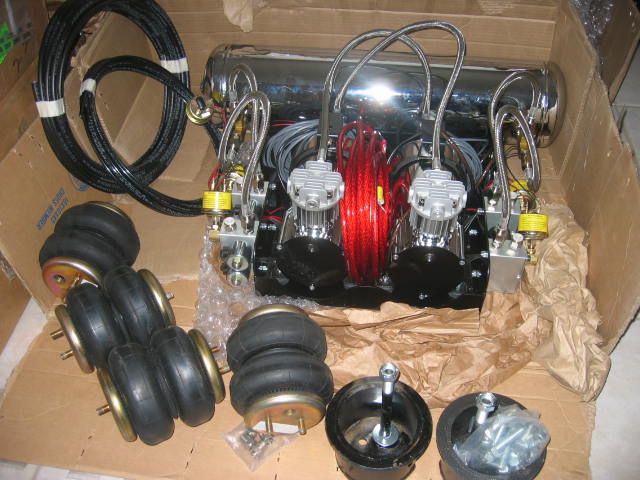
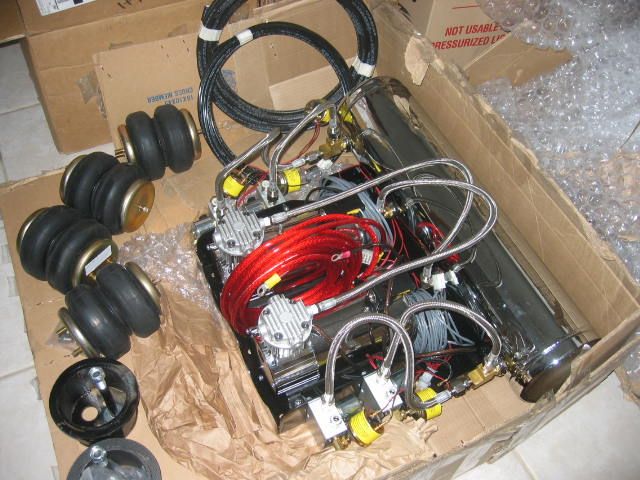
Here's the new suspension set up... This new set up has new upper and lower wishbones bags for four corners, and all chrome tanks which will look nice in the bed!

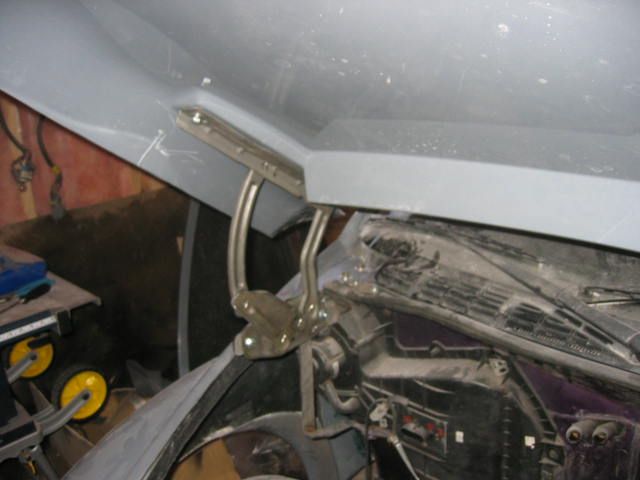
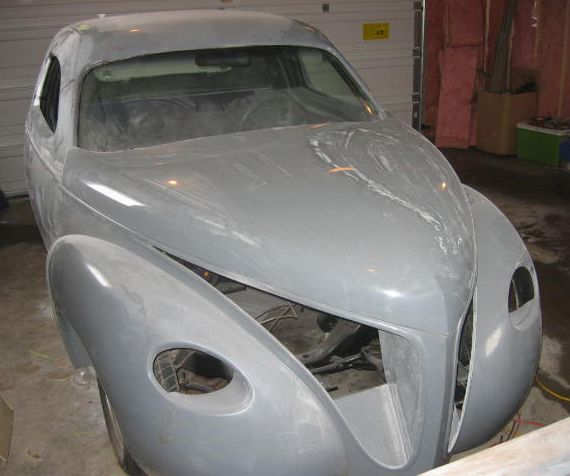
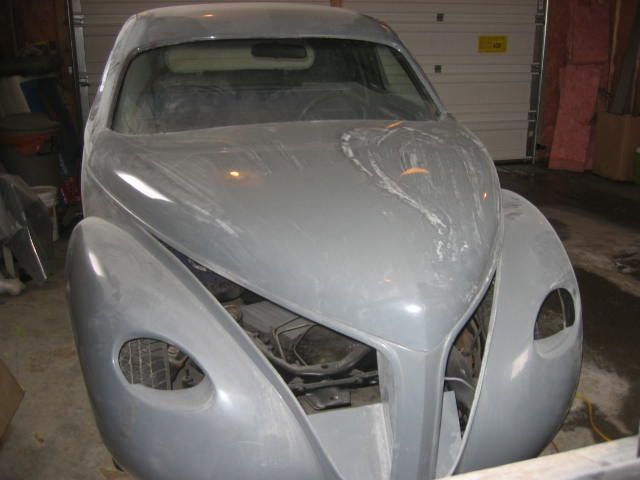
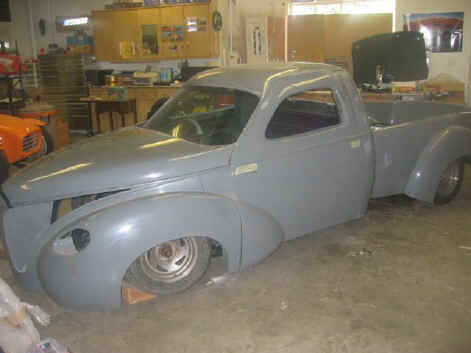
Now to the time consuming part, lining up the panels. In order to get a good idea of where the front clip and doors will sit we need to bolt on the hood as this will determine the overall width of the truck. So we have all the front panels temporarily fitted, everything will need to come off again to clean up the cab and then bond everything on permanently, don't rush this stage though - make sure everything fits well before bonding panels. In order to fit the hood hinges you must bolt up the supplied hinge brackets which fit very well and very easy, then bolt on the hinges and the hood. Looking pretty good at this stage, nothing on the clip or hood has been adjusted yet, so you can see how good the panel fit is. You can see writing all over the body, if there are any marks or places that need to be adjusted I like to mark right on the body so I don't forget anything - body has to be lightly sanded/keyed before paint anyway so it will all be easily removed.


Here's some photos of the rest of the kit and how nice the panels look when they are delivered.
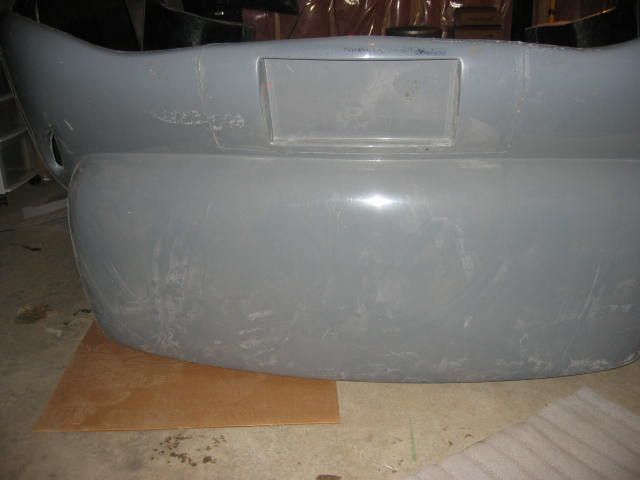
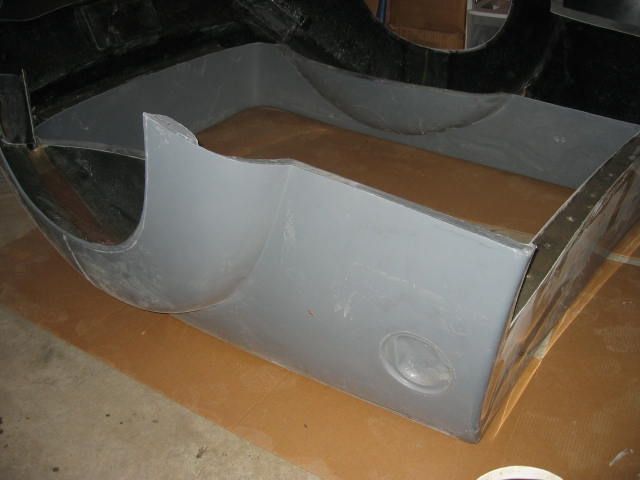

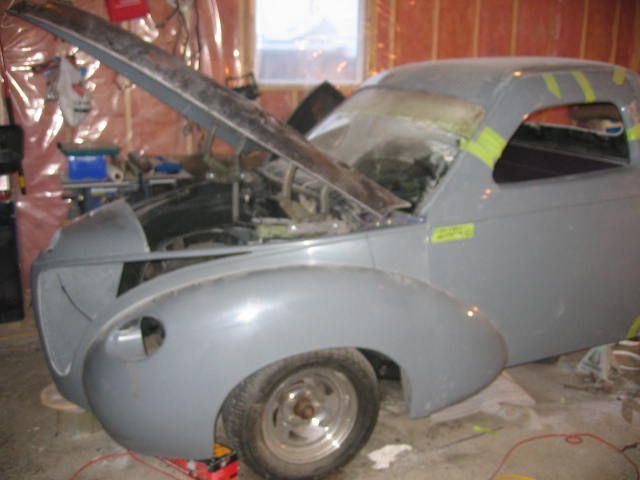
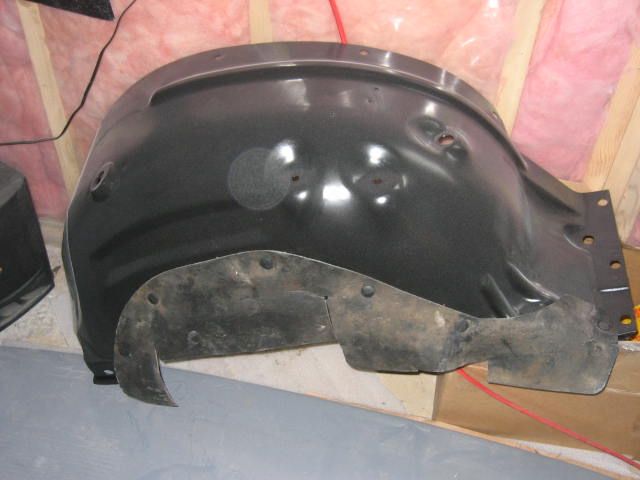
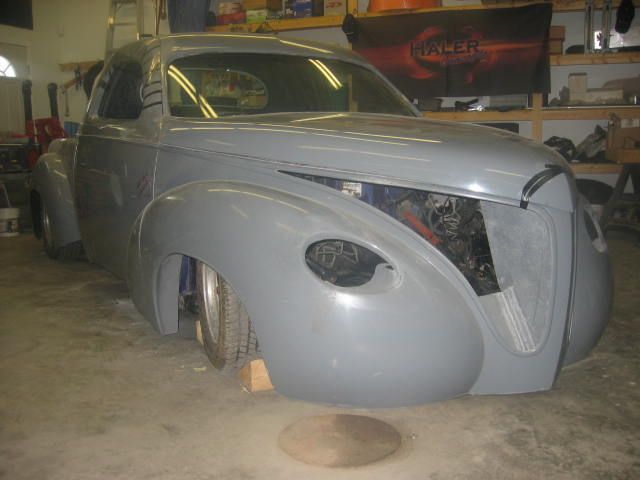
Trial fitting the front end with the outer hood skin on and window fiberglass trimmed... Actually looks like a truck again. Then you can see we have refinished the inner fender wells and rock guarded the underside of the bed. There are two reasons to rock guard or at the least paint the back side of fiber glass panels; One, it will obviously protect them front chips but secondly to provide a solid dark backing - this will insure that when the panels are painted you won't see light coming through them. If there is a low spot on the panel (where the fiberglass or gel coat are not as thick) the light can get through and cause the finish to look poor.
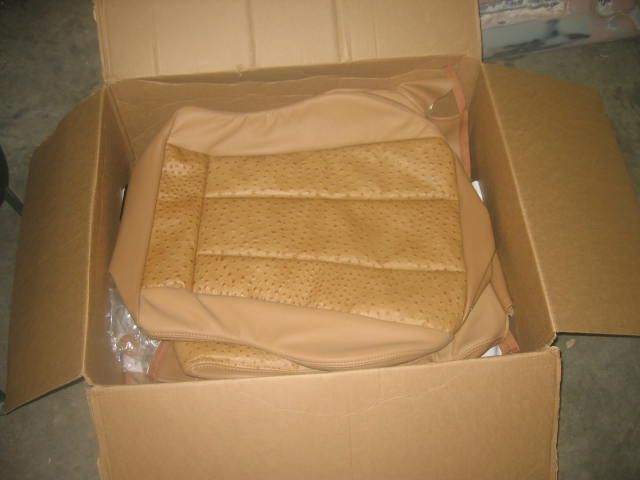
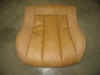
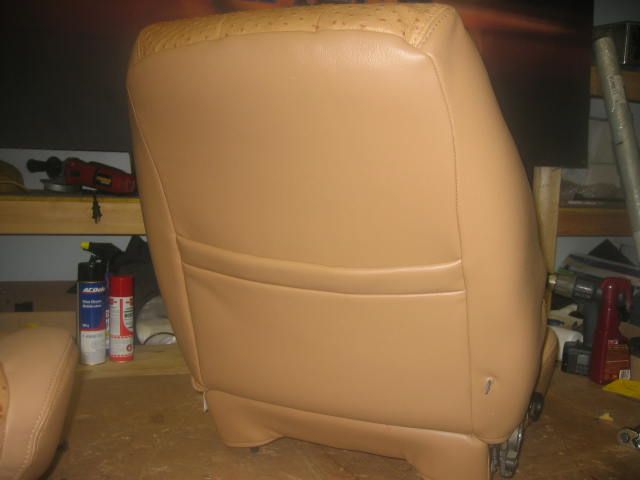
Custom seats and interior panels. Interior done in tan leather with Aussie accents.
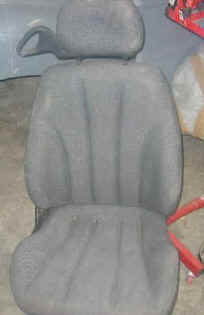 Before and
After
Before and
After 
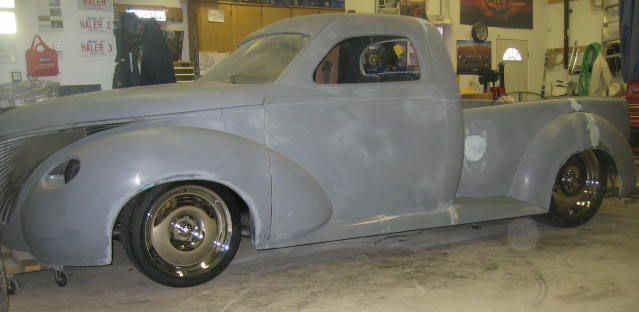
Here's the full body being trial fitted and attached. The air bags are installed and the frame lays flat on the ground... (the bed in this picture is about 4-5 inches higher then it will be when final mounting is complete).

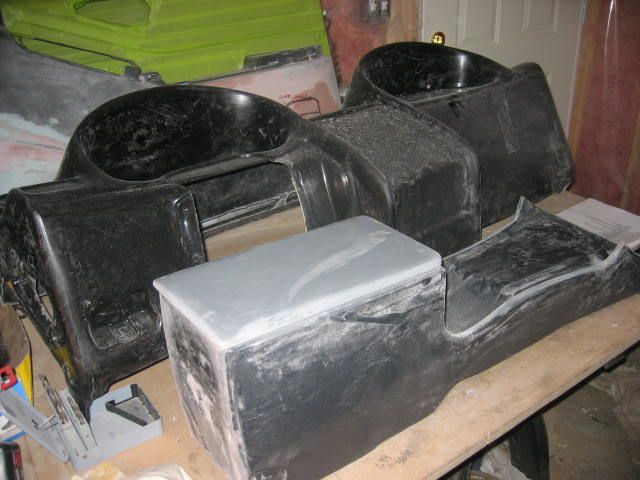
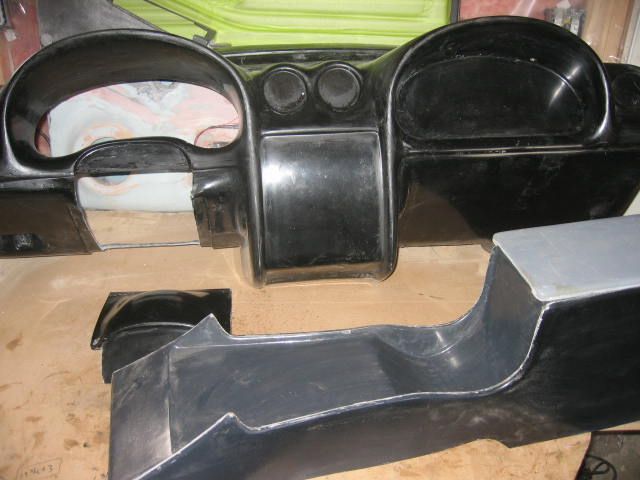
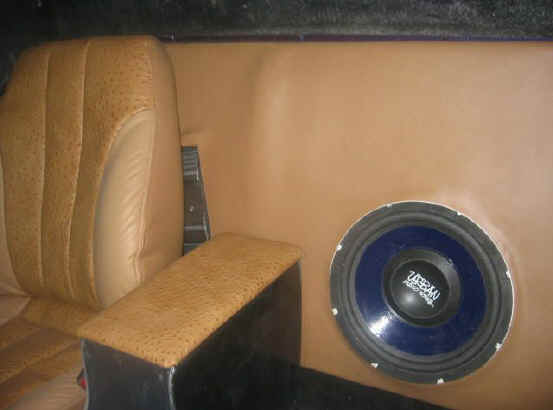
The interior - doors will be painted/wrapped in leather to match the exterior, sub box/amp rack covered with the exact color as the seats with Aussie accents. Center console lid and dash trim pieces covered with Aussie, the center console and dash will be wrapped in leather.
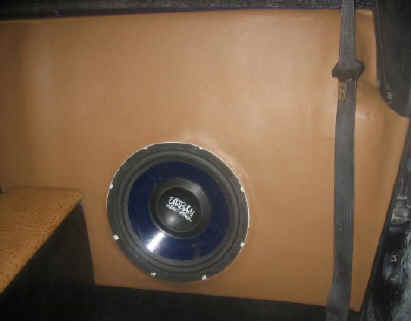
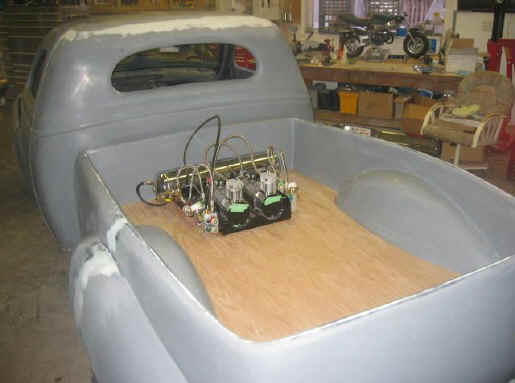
Sub box/amp rack is molded around the seat belts and out to the doors on each side, there is a slight lift in the middle to give the look of the seats sinking into the panel. The sub and amp are also slightly elevated.


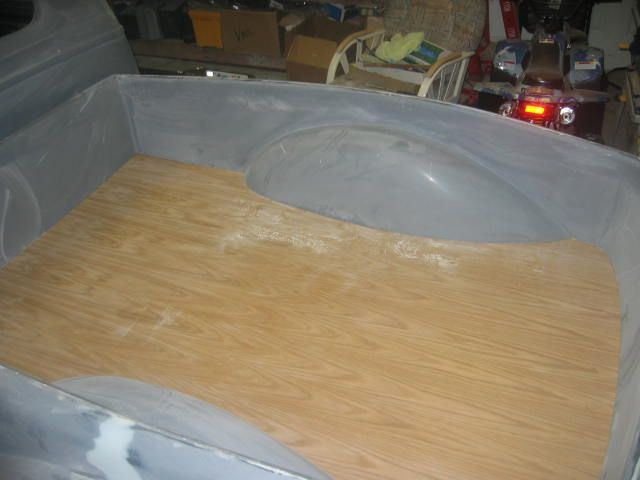
For the bed flooring we decided to make our own oak floor kit, starting with the wood we coated the bottom with 3 layers of oil based varithane and the top with a water based varithane. This way we get the most protection on the bottom and the lighter white oak look in the bed. We may add aluminum strapping in the bed to give the look or separate pieces of wood.
We also have the tail lights installed now.


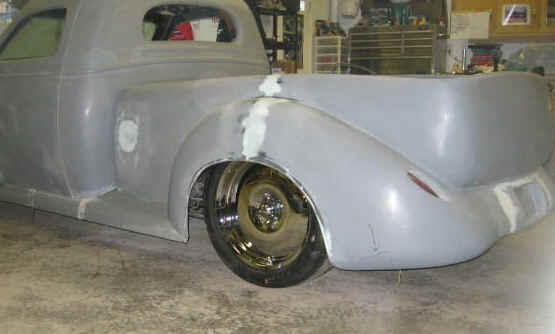
With the ground FX installed it's now time to test fit the new 18" and 20" rims...
This Build is currently for sale - inquire for details
chris@halerconcepts.com or 403-358-0511